This post is about how I got Bitwig to stream audio to the internet in real time, while still working with my audio interface over ASIO, using Synchronous Audio Router (SAR). I’m just streaming audio to an Icecast server using BUTT, but the steps would be mostly the same for getting Bitwig’s audio into OBS if you want to stream video too.
Before trying SAR I did some Googling and found a lot of people recommending Voicemeeter. While Voicemeeter was pretty easy to install, the audio quality was horrible. There were intermittent clicks that I just couldn’t get rid of.
SAR has much better audio quality for me, and it’s a bit more convenient to use as well since you don’t have to launch it separately like you do with Voicemeeter. But SAR’s installation was EXTREMELY finicky. Hopefully the steps I followed will work for others.
Before jumping in, I should mention that all of this information is Windows-specific. If you’re on MacOS I recommend using JACK instead, which also worked for me.
Steps
1. Install SAR
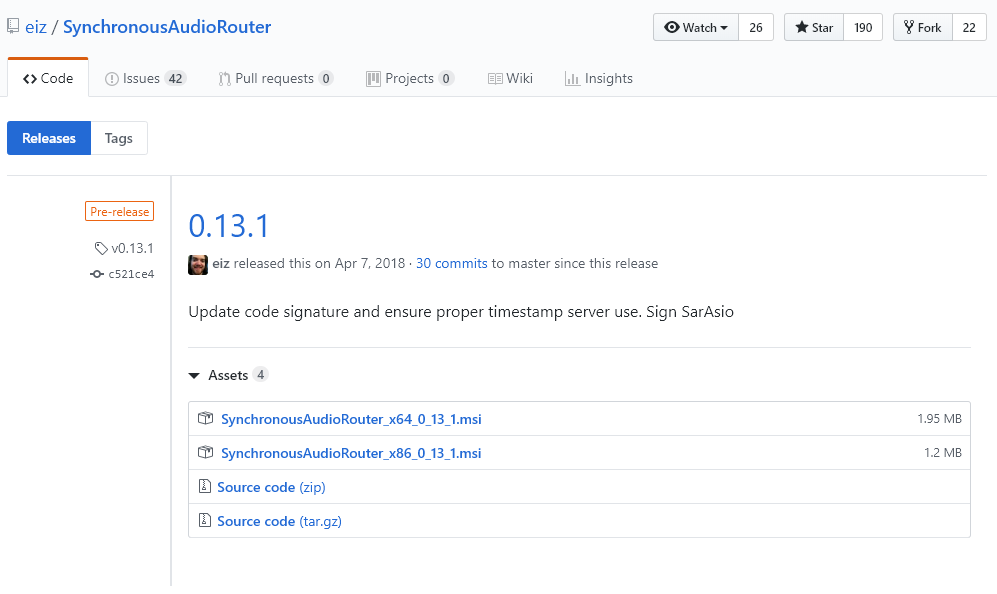
Go to http://sar.audio/ and click the big Download link. That’ll take you to a page with a bunch of links to different versions. Click the most recent. Then download the link with “x64” in it. At the moment that’s “SynchronousAudioRouter_x64_0_13_1.msi” (the first link).
Once you’ve downloaded SAR, double click the file and run through the installation wizard.
2. Configure SAR from Bitwig
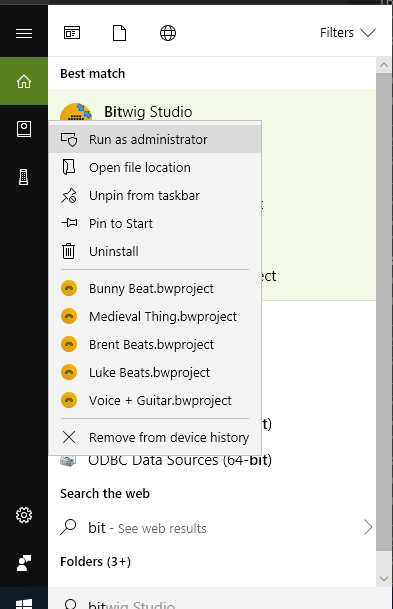
Next, start Bitwig as an administrator. You can do this by right-clicking on Bitwig in the Windows Start menu, then selecting “Run as administrator”.
You won’t need to run Bitwig as admin every time you use it. Just this first time when you’re configuring it.
Once in Bitwig, open the settings and select Audio. Ensure that the “Driver model” is set to ASIO, and then select “Synchronous Audio Router” from the drop-down. Then click the “Show Control Panel” button, which will open SAR’s config window. That window might open up behind Bitwig, so if you don’t see it, check your taskbar for a blinking square with some gears on it, and click that.
In the SAR config window you’ll first need to select your audio interface. This is a bit tricky because at least for me, the drop down refused to drop down. I guess it’s a bug in SAR. BUT I eventually figured out I could select my interface by clicking on the drop down area and using my arrow keys to get my interface selected.
Next, click the Configure button. This should open the configuration window for your actual hardware audio interface (in my case a Scarlett 2i2).
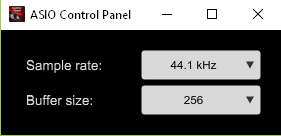
For some reason my Bitwig+SAR+interface would not play well when I had my buffer size set to the default of 512. Bitwig kept showing an error window. But when I took the buffer size down to 256 (or at one point when it auto-set itself to 440) then that problem went away.
Once the interface is configured, you can close that window. Next you’ll need to add an “endpoint” in SAR. Do that by clicking the Add button.
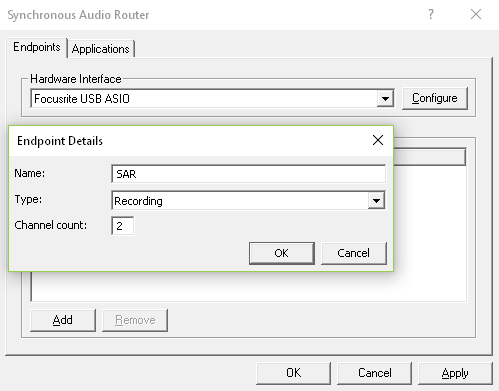
You can name your endpoint whatever you want. Set “Type” to “Recording”. (I had another issue with the dropdown for Type. I had to click on it and use my arrow key on the keyboard to select Recording.) Then set the channel count to 2 so you can stream in stereo.
Click OK on that Endpoint Details window, then OK again on the SAR config window.
3. Configure Bitwig Audio Routing
This next step is weird but trust me. Close the Bitwig settings window, and then open it again. I found that I had to do this in order to get Bitwig to show the right number of audio outputs coming from SAR.
The number of outputs that SAR will advertise is the number of outputs on your audio interface PLUS the number of Recording outputs you configured SAR to use. In my case, that means two outputs from the interface and two outputs for streaming.
Set up the “Output busses” section to have the first two channels going to a “Speakers” role and the next two to a “Headphones” role. Those first two are the real audio outputs on the hardware interface, while the last two are the streaming ones that SAR added. Why the “Headphones” role, you may ask? Because the role controls whether you can have Bitwig’s master channel output to that bus at the same time as another one. You can’t have two “Speakers” or “Output” role busses receiving audio from the master channel at the same time, but you can have a “Headphones” role getting audio at the same time as your speakers, which is what we want.

Once your output busses are set up, close the settings window.
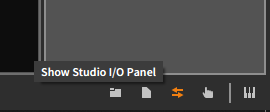
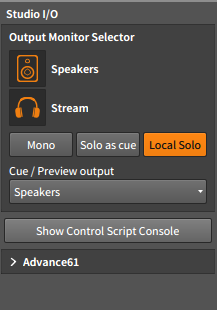
There’s one last thing to do in Bitwig. Click the icon in the bottom right that shows two arrows pointing opposite directions. This is the Studio I/O Panel.
Once the panel is open, make sure both your speakers and the stream headphone output are activated (they should be highlighted in orange). If one’s just white, click it and it should turn orange.
At this point you should be able to hear sound coming out of your speakers if you play a track in Bitwig. Next we’ll get streaming software set up.
4. Configure Streaming Software to use SAR
The next bit will vary depending on which streaming software you use. I’m using the audio-only BUTT, so if you want to use that, follow these steps exactly. If you’re using something else, go ahead and read these instructions to understand the general principles so you can adapt them to the software you use.
Somewhere in your streaming software’s settings should be a spot where you can select the audio input. Look in there and you should see a device with the same name as the SAR “endpoint” that you created earlier. Select that. Make sure stereo and sample rate settings match the settings in Bitwig and your interface.

Now play a track. Hopefully your audio is now flowing into your streaming software!